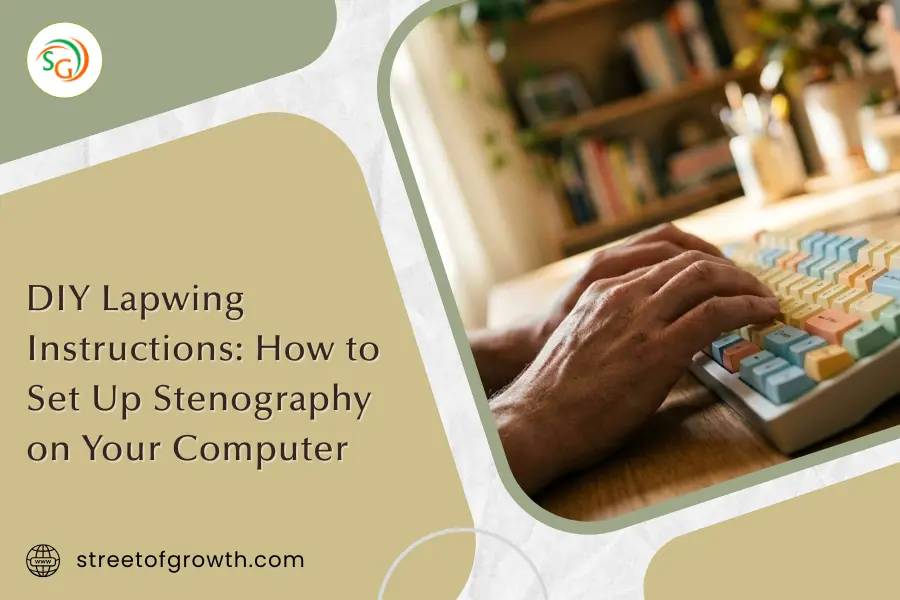
How to Set Up Lapwing Stenography: A Simple DIY Tutorial for Beginners
Want to type at 200+ words per minute? Sounds crazy, right? But that’s exactly what stenography can help you do. And the best part? You can learn it for FREE at home with a method called Lapwing.
In this guide, I’ll show you exactly how to set up Lapwing stenography on your computer. No expensive equipment needed. No confusing tech jargon. Just simple steps that actually work.
Let me show you how.
What Is Lapwing Stenography?
Before we get into the setup, let me explain what Lapwing actually is.
Stenography is a special way of typing where you press multiple keys at the same time. Instead of typing one letter at a time like you normally do, you type whole words or phrases in a single stroke. Court reporters use this method to type super fast, sometimes over 300 words per minute!
Lapwing is a specific stenography “theory” (think of it like a rulebook) created in 2022. It was made to be:
- Easier to learn than older methods
- More consistent with clear rules
- Perfect for beginners who want to teach themselves
- Completely free and open-source
You’ll use Lapwing with a free software called Plover. Together, they turn your regular keyboard into a stenography machine.
Why Should You Learn Lapwing?
Here’s why thousands of people are picking up stenography with Lapwing:
Faster Typing: Go from 60 WPM to 200+ WPM with practice.
Less Strain: Fewer keystrokes means less stress on your hands.
Free to Learn: No expensive courses or equipment needed.
Work Opportunities: Court reporters, captioners, and transcriptionists use steno.
Fun Challenge: It’s like learning a new language for your fingers.
What You’ll Need
Before we start, make sure you have these things ready:
1. A Computer
Windows, Mac, or Linux. Plover works on all of them.
2. A Keyboard
Your regular keyboard works fine! But there’s one important thing:
Pro Tip: Check if your keyboard supports N-Key Rollover (NKRO). This means it can detect when you press many keys at the same time. Most gaming keyboards have this feature.
If your keyboard doesn’t have NKRO, don’t worry. I’ll show you a workaround later.
3. The Plover Software
This is the free program that makes everything work. You’ll download it in the next section.
Step-by-Step: How to Set Up Lapwing
Alright, here’s the main event. Follow these steps carefully, and you’ll have Lapwing running in about 10 minutes.
Step 1: Download and Install Plover
First, you need to get the Plover software:
- Go to the Plover releases page on GitHub
- Download the version for your operating system (Windows, Mac, or Linux)
- Install it like you would any other program
- Open Plover after installation
When Plover opens, you’ll see a small window with a few buttons. This is your control center.
Step 2: Open the Plugin Manager
Now we need to add the Lapwing plugin:
- In Plover’s main window, click on Tools
- Select Plugins Manager
- A new window will open showing all available plugins
Step 3: Install the Lapwing Plugin
Here’s where the magic happens:
- Scroll through the plugin list
- Find plover-lapwing-aio (this plugin bundles everything you need)
- Click on it to select it
- Click the Install/Update button
- Wait for it to finish downloading
This plugin does all the heavy lifting. It automatically installs:
- All the dictionaries you need
- Special features for numbers
- Extra tools for editing and navigation
Step 4: Restart Plover (Important!)
This step is crucial. Many people skip it and then wonder why things aren’t working.
You must completely restart Plover:
- Don’t just close the window. Go to File then Quit Plover
- Open Plover again from your desktop or start menu
If you see a restart button in Plover, you can click that instead. But make sure Plover fully closes and opens again.
Step 5: Switch to the Lapwing System
Almost done! Now let’s activate Lapwing:
- In Plover’s main window, click Configure
- Go to the System tab
- Change the system from “English Stenotype” to Lapwing
- Click Apply
- Click OK
Congratulations! Lapwing is now installed and ready to use.
Setting Up Your Keyboard
Now let’s make sure your keyboard works properly with Lapwing.
If Your Keyboard Has N-Key Rollover (NKRO)
Good news, you’re mostly set! Just do this:
- In Plover, go to Configure then Machine
- Make sure “Keyboard” is selected
- Check if your keyboard’s NKRO is enabled (usually a switch or key combo)
- Enable Plover by clicking the ON/OFF button in the main window
If Your Keyboard Doesn’t Have NKRO
No problem! Here’s the workaround:
- Go to Configure then Machine
- Enable the Arpeggiate option
- Click Apply and OK
With arpeggiate mode on, you can press keys one at a time (quickly) instead of all at once. Plover will combine them into a chord.
Optional: Remap the Number Key
Lapwing uses a special “number key” a lot. By default, it’s in an awkward spot. Many users remap one of the “S” keys to the number key for comfort.
If you want to do this:
- Go to Configure then Machine
- Scroll down to the keymap section
- Reassign one of the S keys to #
- Apply your changes
Your First Steps with Lapwing
You’ve got everything set up. Now what?
Start with the Basics
Lapwing has a great free learning resource called Lapwing for Beginners. It’s an online book that teaches you everything step by step.
The book covers:
- Chapter 1-4: The basics of steno and finger positions
- Chapter 5: Setting up Plover (which you’ve already done!)
- Chapter 6+: Actual words, phrases, and harder techniques
Practice Every Day
Here’s the truth: stenography takes time to learn. But even 15-20 minutes of daily practice adds up fast.
Helpful practice tools:
- Typey Type: A website with Lapwing-specific exercises
- Steno Jig: Random word drills to build muscle memory
- QMK Steno: For people who want custom keyboards later
Common Problems and How to Fix Them
Even with perfect instructions, things can go wrong. Here’s how to solve the most common issues:
Problem: Plover Isn’t Detecting My Keyboard
Try this:
- Make sure Plover is turned ON (click the button that says “Disabled” to enable it)
- Check that your keyboard is plugged in properly
- Try unplugging and replugging your keyboard
- Restart Plover completely
Problem: Nothing Happens When I Type
Try this:
- Make sure you switched the system to “Lapwing” (Step 5 above)
- Check that Plover is enabled (not showing “Disabled”)
- Try pressing multiple keys at the same time
Problem: Random Letters Appear Instead of Words
Try this:
- You might not be pressing keys simultaneously
- If you don’t have NKRO, enable Arpeggiate mode
- Practice pressing keys at exactly the same time
Problem: The Plugin Won’t Install
Try this:
- Check your internet connection
- Close and reopen the Plugins Manager
- Try installing again
- If it still fails, restart your computer and try once more
Lapwing vs. Plover Theory: What’s the Difference?
You might see both “Lapwing” and “Plover theory” mentioned online. Here’s a quick comparison:
Created: Lapwing was made in 2022. Plover theory is older, based on court reporting.
Consistency: Lapwing has very consistent rules. Plover theory has some inconsistent areas.
Learning Resources: Lapwing has a full beginner guide available. Plover theory is less beginner-focused.
Complexity: Lapwing is easier to learn. Plover theory has a steeper learning curve.
Community Recommendation: Lapwing is highly recommended for beginners. Plover theory still works, but Lapwing is preferred.
Bottom line: If you’re new to steno, Lapwing is the better choice.
Frequently Asked Questions (FAQs)
Can I use my regular laptop keyboard?
Yes! Most laptop keyboards work fine. However, laptop keyboards often don’t have great NKRO. Use the Arpeggiate mode if you have trouble pressing multiple keys.
How long does it take to learn stenography?
It depends on how much you practice. Most people reach comfortable speeds (100+ WPM) within 6-12 months of regular practice. Some learn faster, some take longer, and that’s okay.
Do I need to buy a special steno keyboard?
Not at all! You can start with your regular keyboard. Special steno keyboards (like the Georgi or Uni) are nice to have but totally optional.
Is Lapwing really free?
100% free. Lapwing is open-source, and so is Plover. You pay nothing to learn stenography this way.
What if I want to switch from Plover theory to Lapwing?
Easy! The Lapwing for Beginners guide has an Appendix specifically for Plover users who want to switch.
Can I use stenography for programming?
Absolutely! Many programmers use steno to code faster. There are special dictionaries for programming languages too.
Quick Reference: Setup Checklist
Here’s a summary you can come back to:
- Download and install Plover
- Open Tools then Plugins Manager
- Install plover-lapwing-aio
- Restart Plover completely
- Go to Configure then System then Select “Lapwing”
- Apply and confirm
- Test your keyboard
- Start learning with Lapwing for Beginners
Final Thoughts
Learning stenography with Lapwing is one of the coolest skills you can pick up. It takes some effort, but the payoff is huge. Imagine typing faster than most people can talk!
Here’s my advice:
- Start today. The setup takes just 10 minutes.
- Practice a little daily. Consistency beats intensity.
- Join the community. The Plover Discord is full of helpful people.
- Be patient. Speed comes with time.
You’ve got everything you need to start. Now it’s your turn to take action.
Good luck, and happy stenoing!
Have questions about Lapwing or steno in general? Drop them in the comments below. I read every single one!